Start Your Online Coaching Business In Just an Hour — the How-To Guide

(This article may contain affiliate links.)
Have dreams of starting an online coaching business, but don’t know how to start? Here’s how you can set up a fully functional, fully automated, online coaching business in about an hour.
Utilizing Kajabi
Kajabi is one of my favorite tools, and I highly recommend using it to create your online coaching business. While it does come with a price tag, the features, integrations, and automations it offers are crucial to run a successful online business with ease. If you are interested in a free 30 day trial of Kajabi, you can click here.
To start, head to Kajabi’s website and create your account.
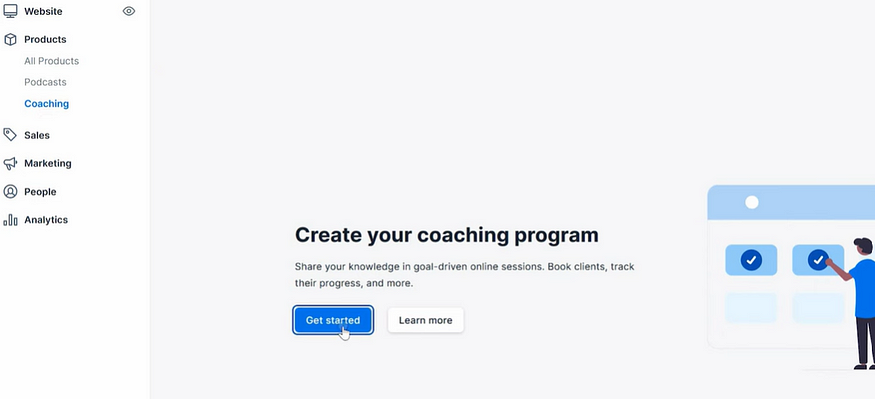
From the dashboard over on the left under “Product”, select “Coaching”, then click “Get Started”.
Here you can select either a “single session” or a “package” that you'd like to create.

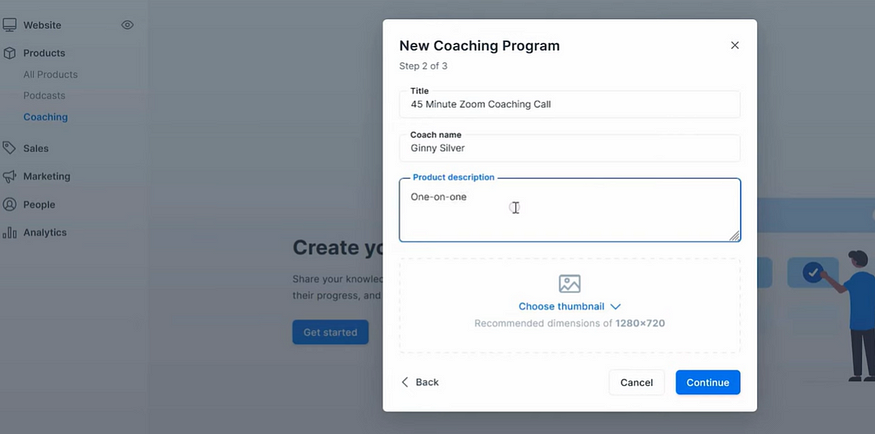
Next, enter in the title for your coaching program, the coach's name, as well as the description of the program, then select a thumbnail to represent it.
Integrating Calendly
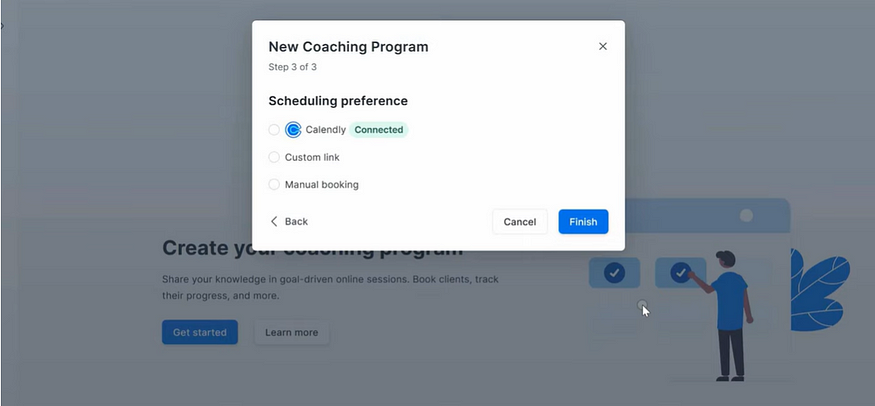
It will then ask you how you'd like to schedule your coaching sessions. If you’re interested in an easy and free way to schedule your coaching session, click “Calendly.” Calendly is an online scheduling application that will allow your clients and customers to book a virtual meeting at a time that is convenient for both of you
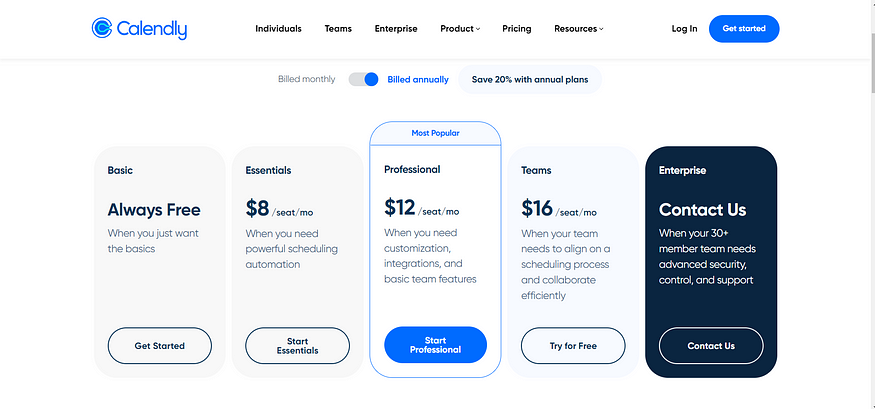
To create your Calendly account, head to their website and select the “basic account” and click on “Get Started.” Once that is made, return to Kajabi and select that you want it to “integrate with Calendly.”

Then, head back over to Calendly, click on “new event type,” and enter in all of the event details for your coaching session. When entering the location of your meeting, be sure to select “Zoom” to ensure clients knows you will be meeting virtually. Then you will be able to select time you are available to meet with clients to ensure they book a time that works around your schedule.
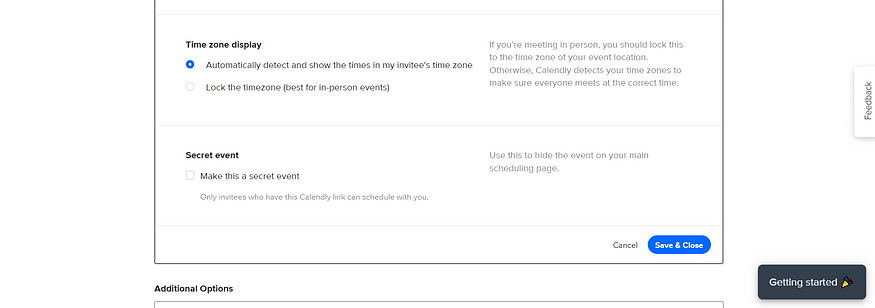
Be sure to make this a “secret event” so that only clients who have paid can book through this link.
While the free version of Calendly will help you get started, I would recommend upgrading to a paid account; they offer quite a few more features that can further help automate your business.
While we will be charging our clients for this coaching session, it’s important that you DO NOT set up to collect payments on Calendly; payment collection will be set up using Kajabi.
Once you've created the event type in Calendly, head back over to Kajabi and make sure that under the new coaching program you select the matching event type.
Creating an Offer
Next you must create an offer for your coaching session in order for clients to have the ability to book with you.
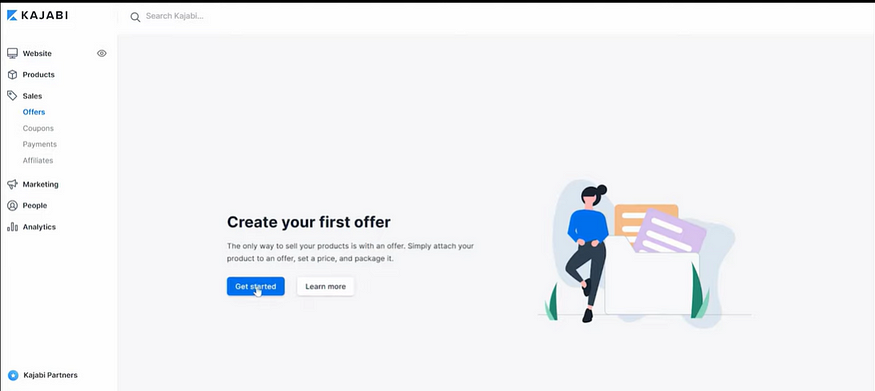
Under the “marketing area” on the left hand side and under the “sales” area, click on “offers.”
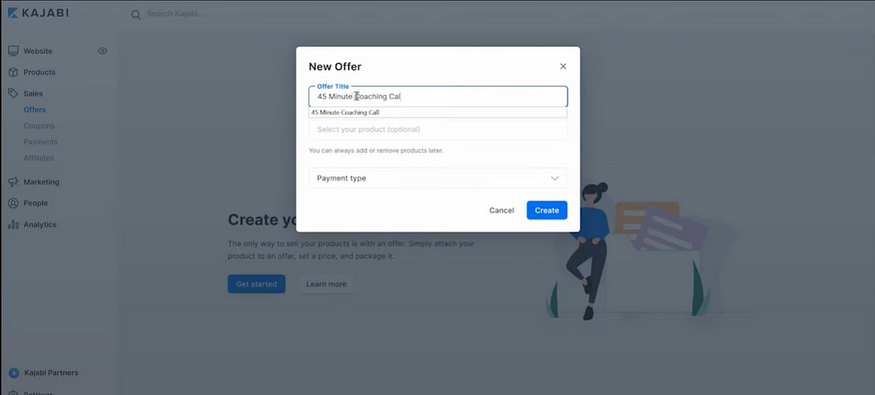
Then enter in the offer title and select your specific coaching product. Then select the payment type you would like to use, and input the price.
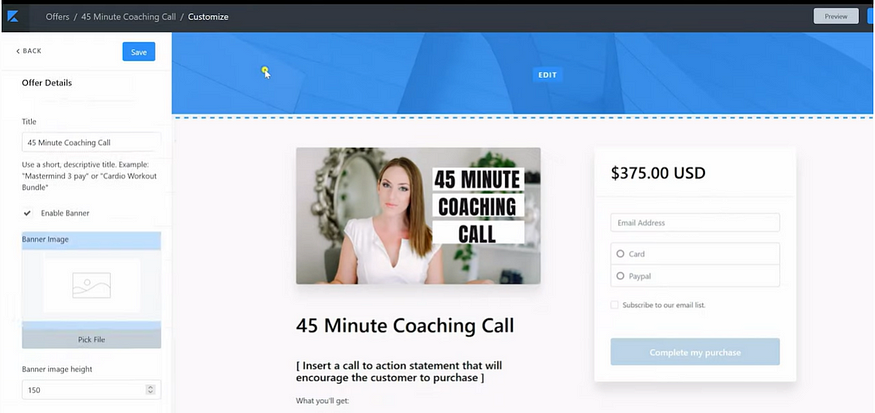
Once this populates, click on “check out” in the top menu bar. Here you edit the checkout page; you can customize this any way you like.
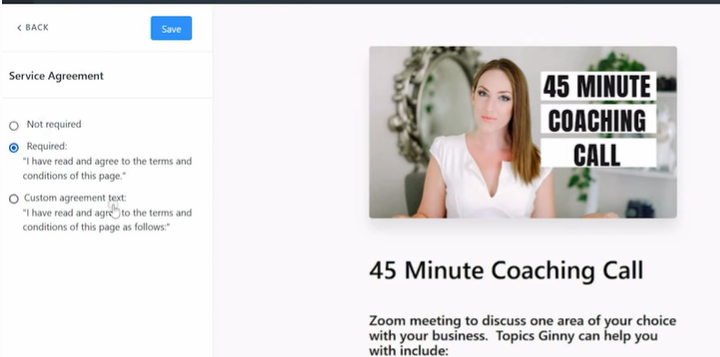
Next you're going to select your service agreement that you would like people to agree to in order to book your sessions. From here you have the ability to implement a “service agreement,” which can also be customized if needed.
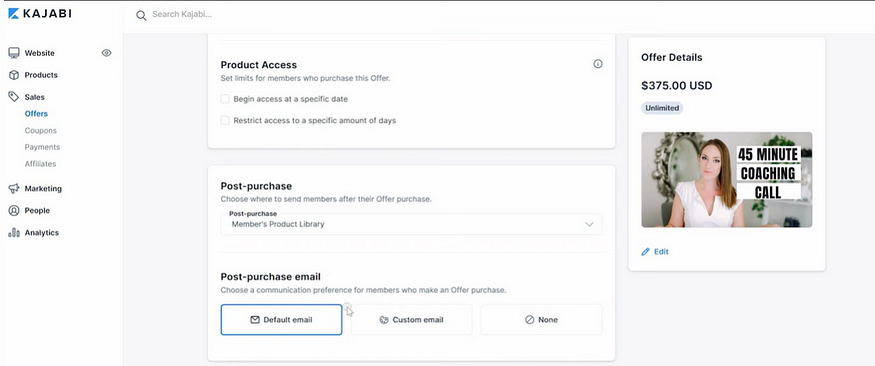
Once this is complete, go back to the offer page and input if you would like to have a post purchase email sent to your clients. You can also set up automation here if you would like something to automatically happen upon purchase of your coaching session.
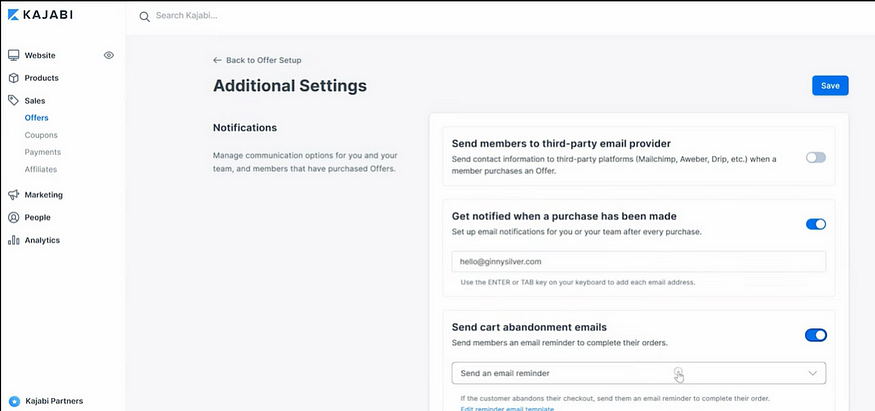
Next, click on the additional settings tab at the top of the offer page, and ensure a few key elements are switched on. Firstly, you’ll want to switch on to get notified when a purchase has been made. You will also want to switch on “send cart abandonment emails” which will automatically send an email to anyone who adds something to their cart but does not complete a purchase — this will help increase your sales. Lastly, select to activate affiliate commissions on this offer. Kajabi has an upgraded feature which allows you to have affiliates — meaning if someone is sharing your services or markets your products for you, they can receive a kickback automatically. This is a great feature if you are utilizing influencers.
Creating a Landing Page
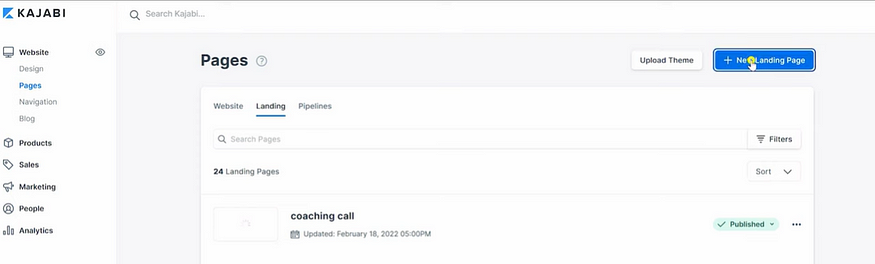
Next, head back over to the main page of Kajabi, and under the “Website tab” click on “pages.” In order for clients to be able to book from you, you need to have a place they can search and find.

Then select a template that you like, enter in the page name, then click “create.” Next, the page is going to populate a template that you will be able to customize. Click on the section that you want to customize, and over on the left hand side of the webpage, you can change images, change the text or delete areas to add a new section to the page.
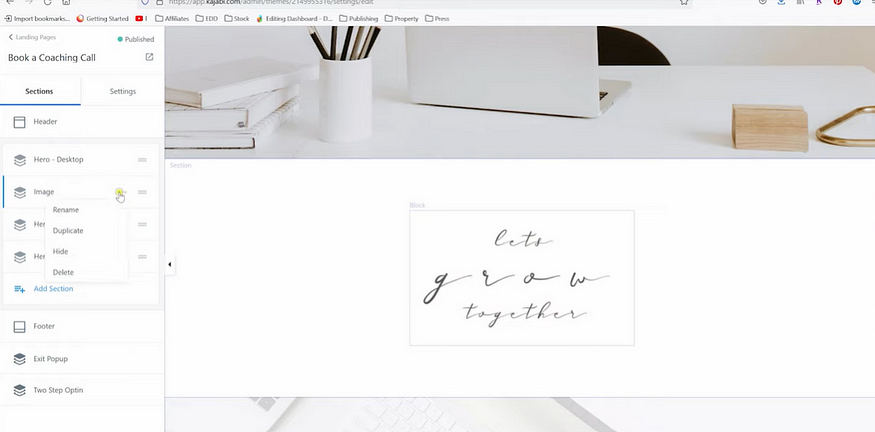
Click on “add a section” and you will see all the different types of content options that you can add in. Select the type of content you want to add and Kajabi will populate it for you. If you'd like to reorder anything on the page, simply drag and drop the content bar by clicking on the right hand side, holding the button down and dragging it up or down on the page.
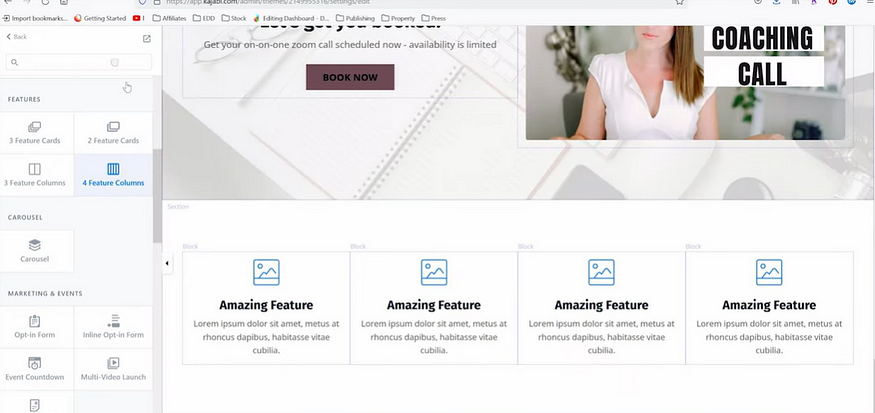
You can also add custom sections to your page that will give more information to your clients before they book with you; I opted to create a FAQ page for my website.
If you want to update any of the background images, click directly on that content and then replace it with a new image by clicking “Select Image” over on the left hand side. You can then adjust the opacity, do an overlay, and ensure your page looks exactly how you want it to.
You also have the ability to incorporate animations to make your webpage look more visually interesting. To do so, click on a particular content block and browse the animations styles on the left hand side of the webpage.
Final Touches
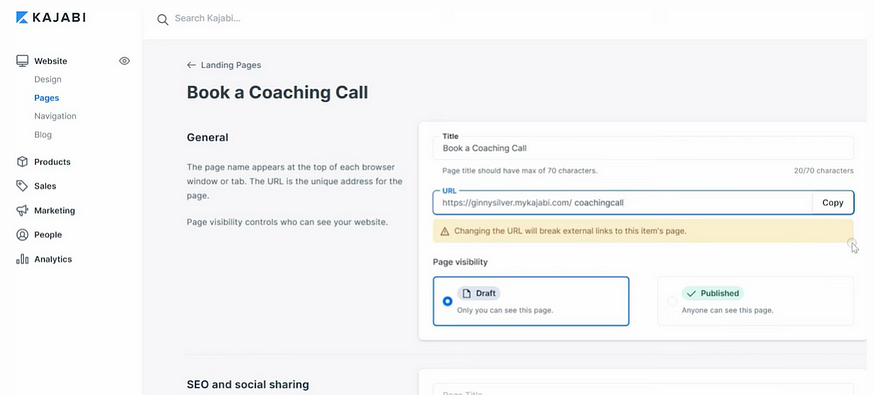
Next, return to the Pages tab, click on the 3 dots for the page your just created, click on “Edit Details.” Here you will update the URL, and change the page visibility either a draft or a published web page.
And finally, to ensure you are optimize it for SEO, update the page title and page description with keyword heavy terms of what your ideal clients might be searching for.
And then your done! Now you are ready to book coaching sessions with clients!
Want to learn more about creating a online coaching session? Watch the video here!


